chelfyn
2007-04-03 08:49:54
Like many people, I was blown away by the Kid Beyond video on the Ableton site, and seeing as I've been using Ableton for years I thought I'd give it a whirl and try and duplicate the elegant simplicity of his rig. The challenge was this: to keep to an absolute minimum the need for button (or pedal) presses, to keep everything automatically synced and to remove the need for a screen. As an added bonus, I want to be able to save everything I record, and to resample whatever is looping in the same easy way as I record layers.
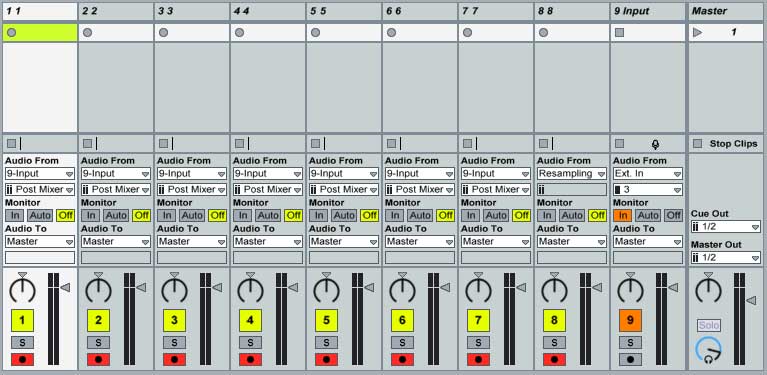
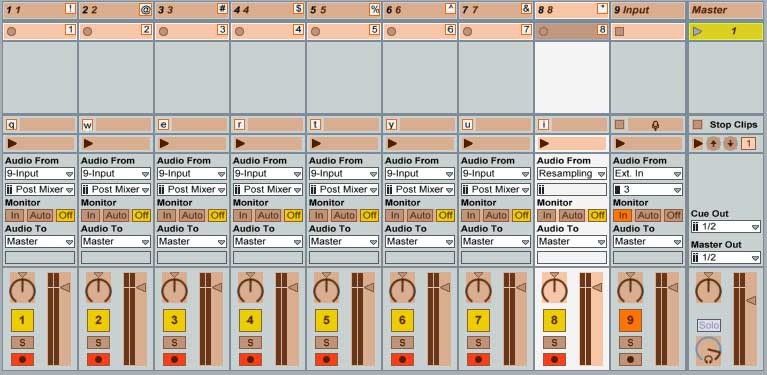
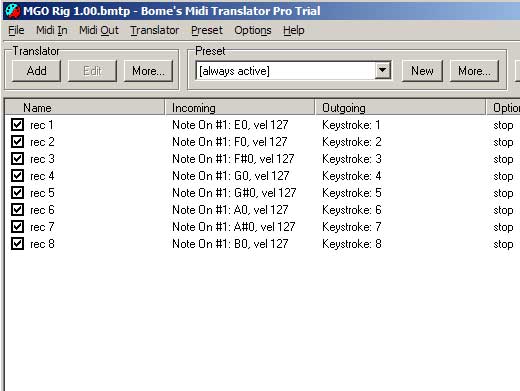
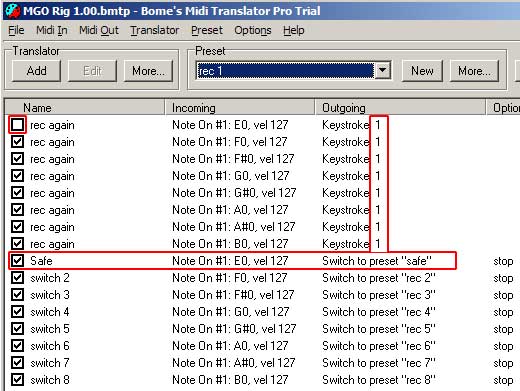
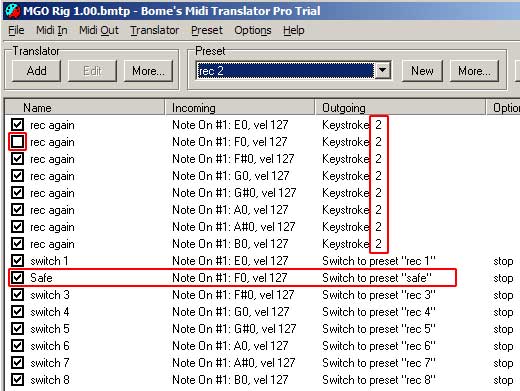
The rig I've developed has 8 buttons, for 8 tracks. Hit 1 to start recording on track one at the start of the next bar. Hitting 2 will start recording on track 2 at start of the next bar while track 1 continues playing back what you've just recorded. You can continue this for any track, simply hit the next destination, and at the end of the bar, you'll start recording on the new destination track. Hitting the same button as the track you are recording will stop the recording process, and leave all the clips you just recorded looping cleanly.
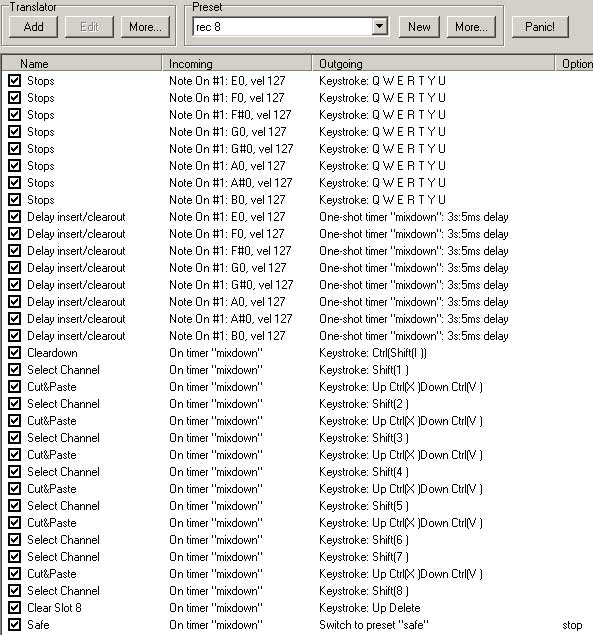
Doing this on channel 8 is different. Channel 8 will resample the result, stop all the other clips, insert a new layer, copy the stopped clips in to save later, and empty out all the recording slots so you can continue adding stuff in. I usually have a high pass and low pass filter ready on this channel to allow me to remove the tops or bottoms to give some sonic space for more layering.
It would be pretty poor form of me to brag about what a great setup I've got without showing you *exactly* how to do it yourself, so that's what I'll do next. Hopefully you'll learn some useful tips and tricks along the way. With some of the techniques used here you can really take control of ableton and make live setups that finally free you from the dreaded mouse, bane of electronic musicians everywhere. If you take everything that's cool about a guy on stage with a load of noise screaming out of an electric guitar, and then try and imagine it's polar opposite, it's the sight of a mouse and a laptop.
Preparation
You will need:
Ableton Live (obviously).
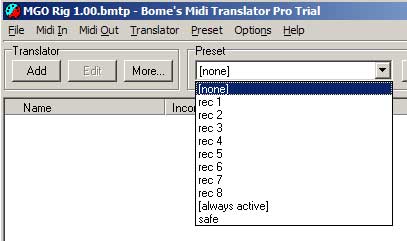
Bome's Midi Translator Pro (free for 30 days , but once you learn how to use it in this tutorial you'll want it all year round) – you can use the free version if you like, but you will not be able to completely automate the cleanup macro that I use for the resampling without assigning an extra button and remembering to press it after the bar ends. Timers in MTPro are incredibly useful tools.
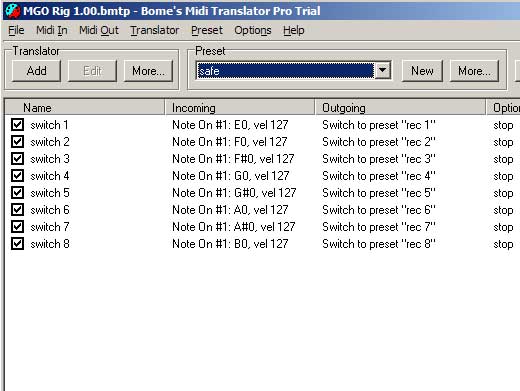
An external midi controller with a free key or button per track. I developed this using a Tascam US-428 (in 'four control banks' mode) so my 8 track buttons send the Midi notes E0 - B0. In the following setup screens, whenever you see [Note On #1:F#0, vel 127] replace it with whatever midi information your midi controller squirts out. I have also developed a version of this rig specifically for the US-428 which controls the on-board LEDs to show you which channel is recording (flashing red) and which have been recorded to already (steady red). I will release a further tutorial at a later date if there is demand.
A modicum of technical knowledge about your PC and MIDI is required. I'll document in reasonable detail, but If I write so a chimp could do it, it will make for very boring reading...continued in next post....
